


(And let me preface this by saying, you don’t need a professional camera – or a professional-professional – by your side to make the magic happen).
Product and food photography inspires us to no end – and a big part of that comes from the simple beauty that can be made just by combining a few thoughtful elements into a frame that tells a concise, hella stylish, story.
It might sound cheesy, but styled photography is a really refreshing way to reconnect with the sparkle that lies in simplicity, and find new appreciation for knick knacks around the house of which its practical use you may recall, but its beauty you may not have admired in a while (it happened to us over the weekend with a cheese-grater, just sayin’).
The step-by-step guide below will give you insight into our photography process – how we plan for photoshoots, select props, and set scenes – as well as a handful of different shooting styles. Hang around if you’re a business owner or content creator who’s looking to feel re-inspired while creating some VERY-close-to-professional images you can use for your social media, website, marketing materials, and beyond.
Step 1.
Gather inspiration for your “shot list,” using Pinterest or the like. Check out our Styling Board, if you need a starting off point.
Step 2.
PRINT, and if you can’t print, DISPLAY. Having your inspiration shots at the ready, laid out as you go through your shoot will help you stay on track + give you something to emulate as you put your scenes together.
Step 3.
Gather your props + products. Having everything within arms reach before you start shooting helps ensure you’re staying true to your vision and — of course — prevents any unnecessary trips up the stairs, in our case.
Step 4.
Test the environment. Take a few test shots of your work area, and make sure lighting is optimal and your surface is clean.
Step 5.
GET STYLIN’. It’s time to set your scenes and start shooting. Butttt firsstttt, read on:
Our Top Styling Tips
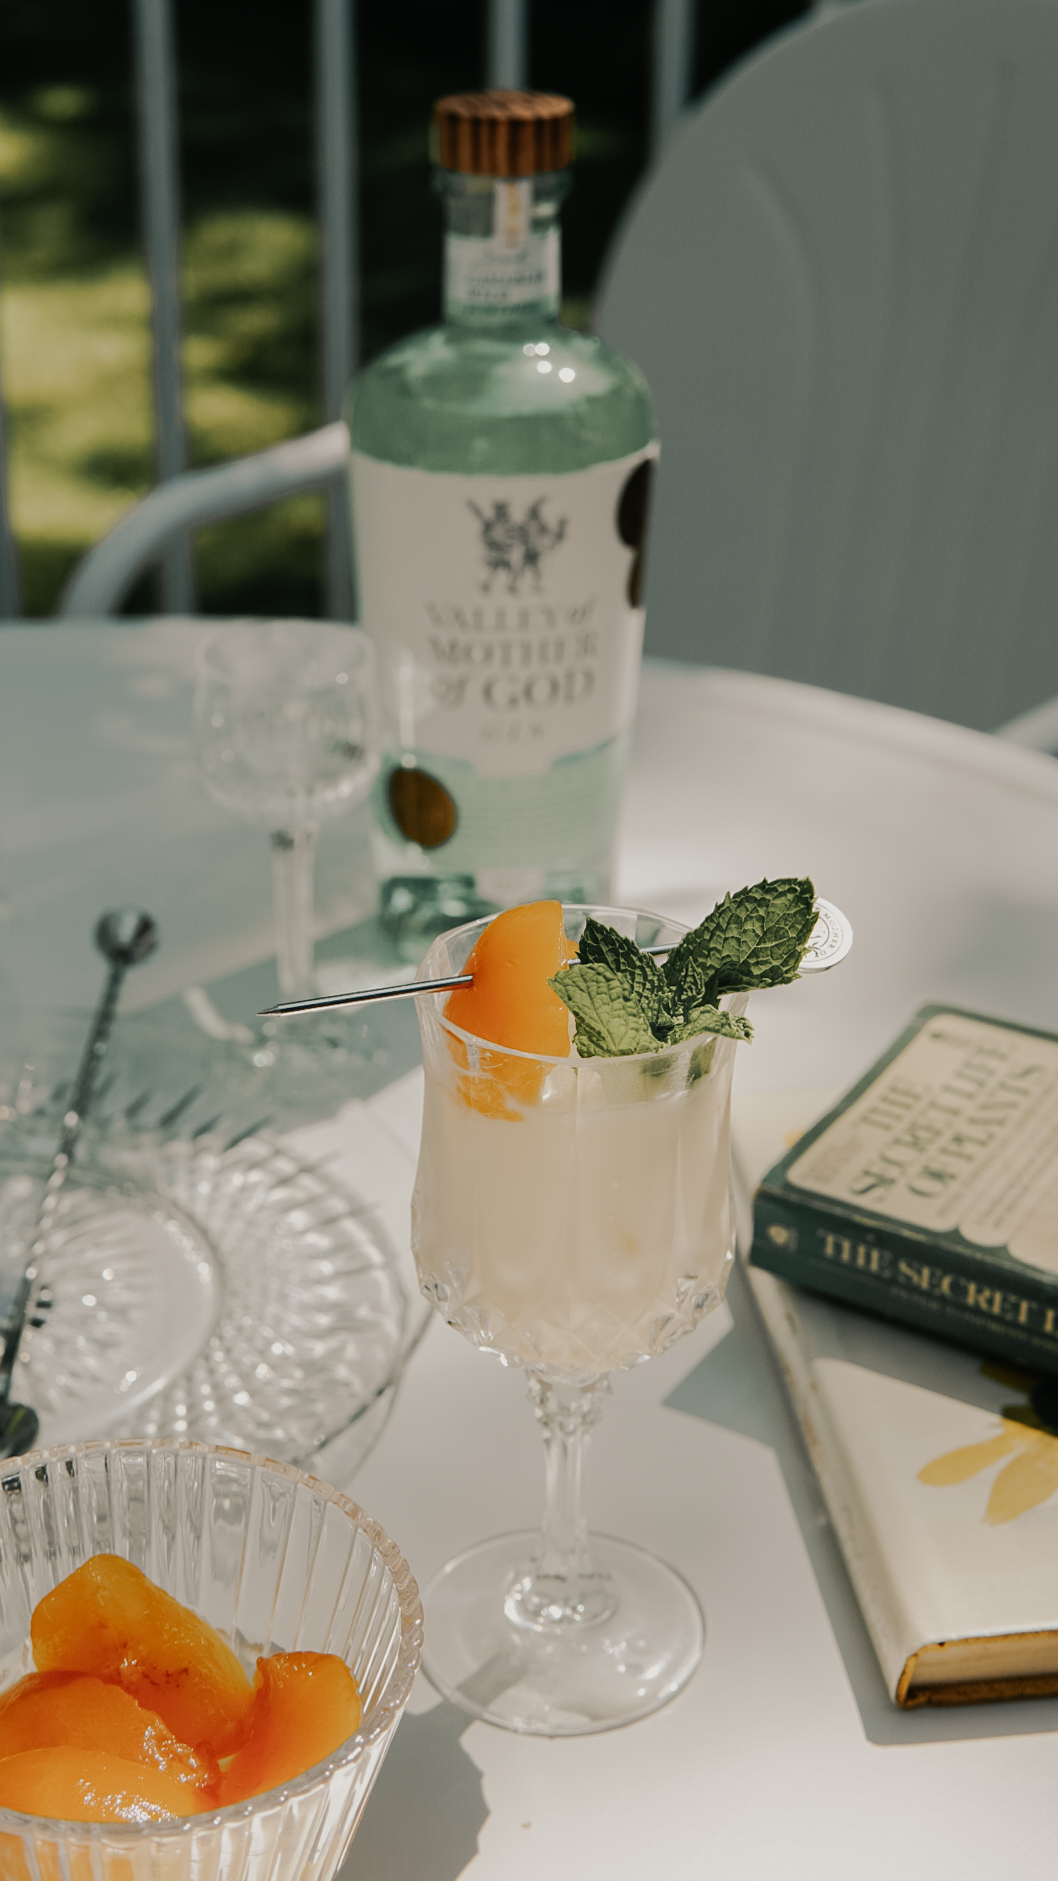
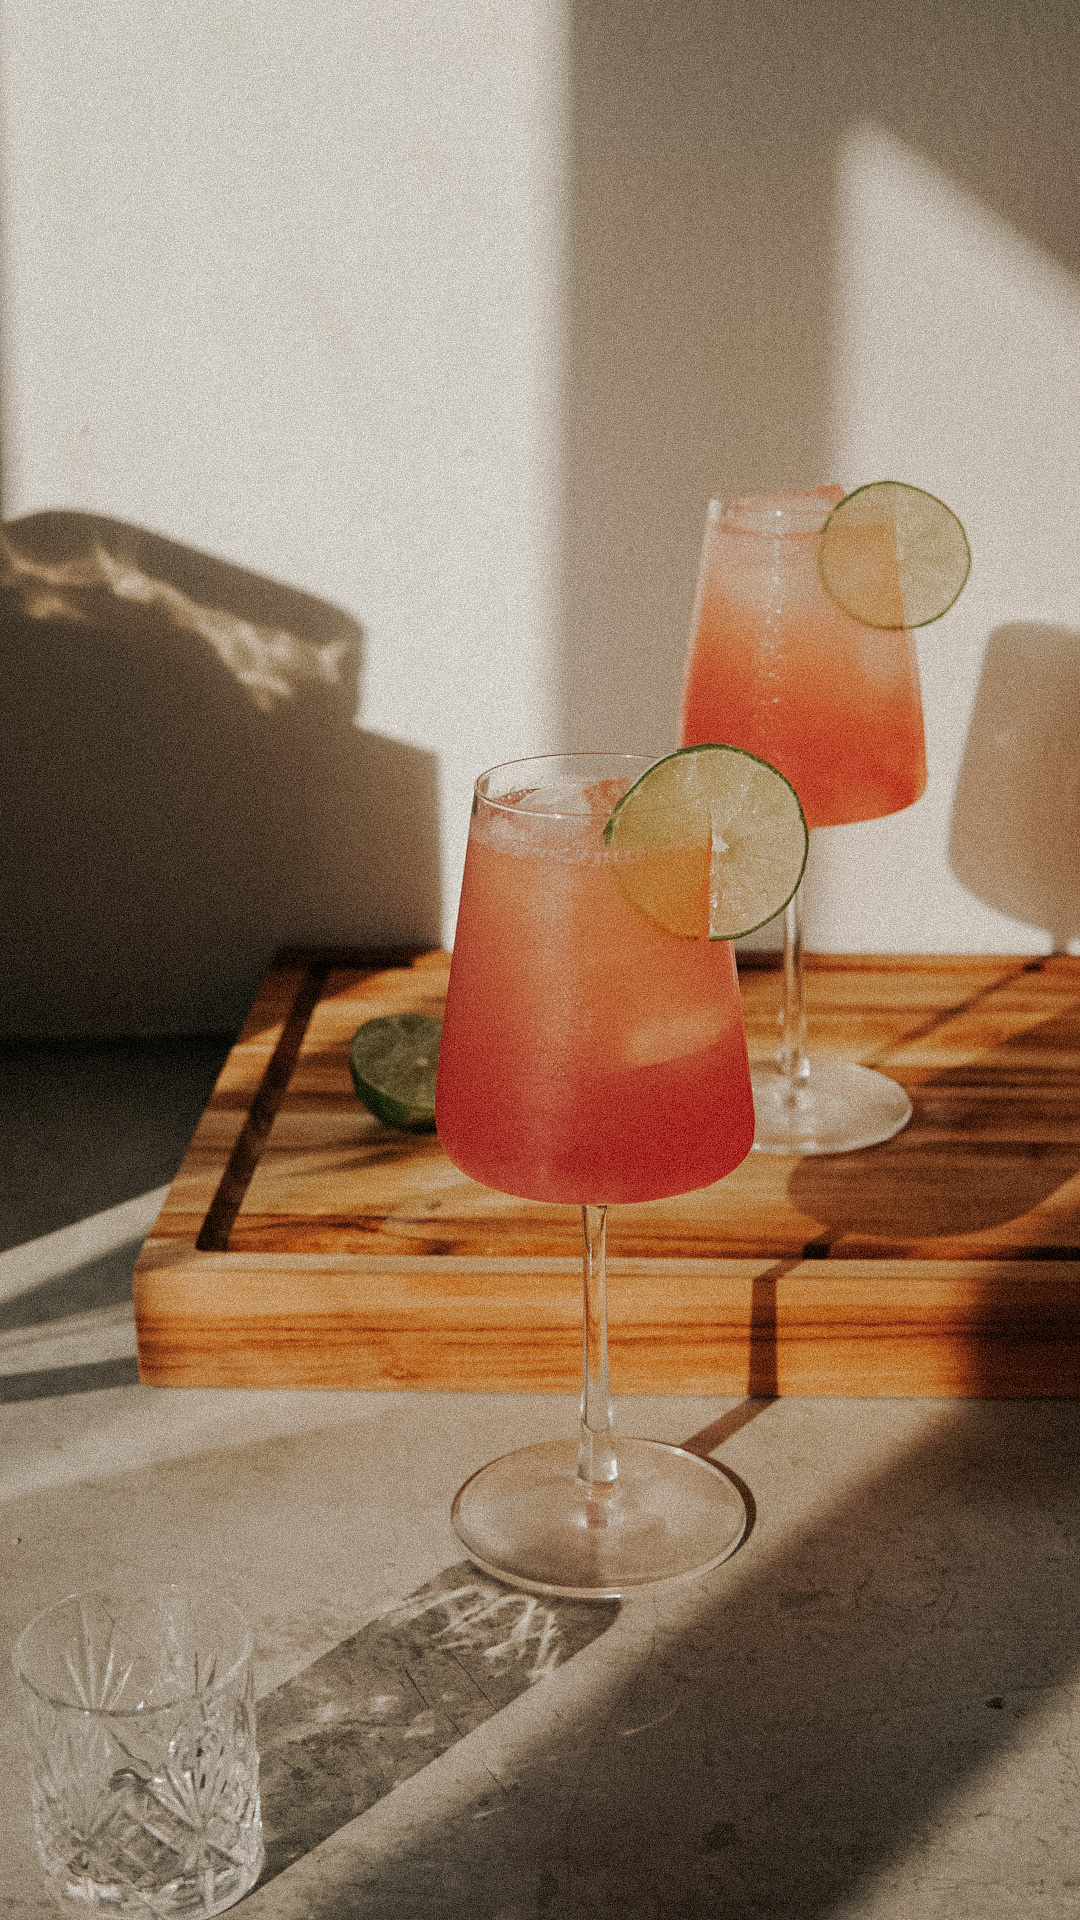
- Texture
- From a dusting of flour to a ripped up piece of line paper, texture is going to up-level your photography skills like WOAH.
- It doesn’t have to “make sense”
- Why did she throw all her jewelry across her keyboard like that? No one really does that, but what does it give you? Texture. A story. A MOOD.
- Use what you have
- Part of the styling fun is giving objects new roles. Does your vision board call for a bowl? Maybe a teacup will do. This keeps your photos original + inspires new shapes as you go, letting your shoot take on a mind of its own like it’s kind of supposed to.
- Fabric
- I know, this is texture technically, but it deserves its own moment. Think of all the things in your home made of fabric: linens, denim, your shower curtain (I’m serious). These are all elements that can add a level of layering to your photo that will be totally unique to you.
- Florals
- Nothing kicks a photoshoot up a notch like working with fresh cut flowers. There, I said it.

Photography Techniques To Get You Started
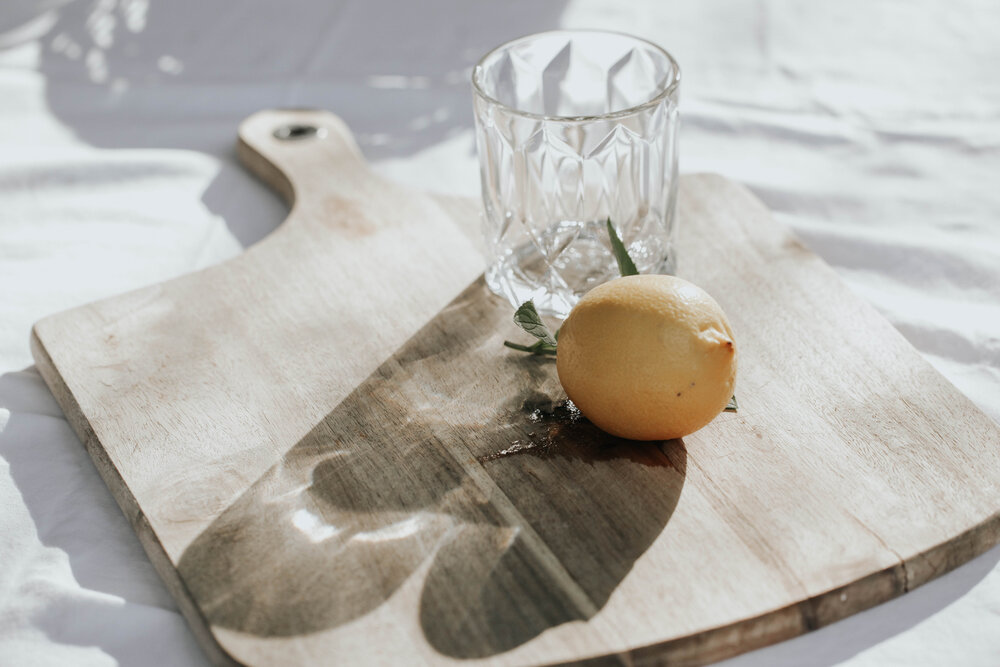
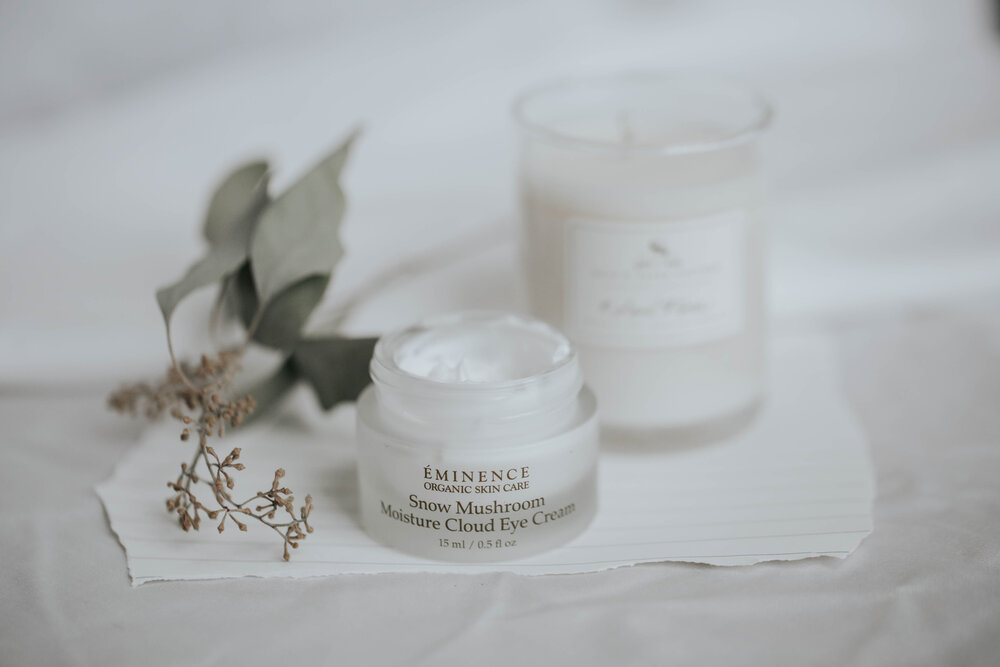
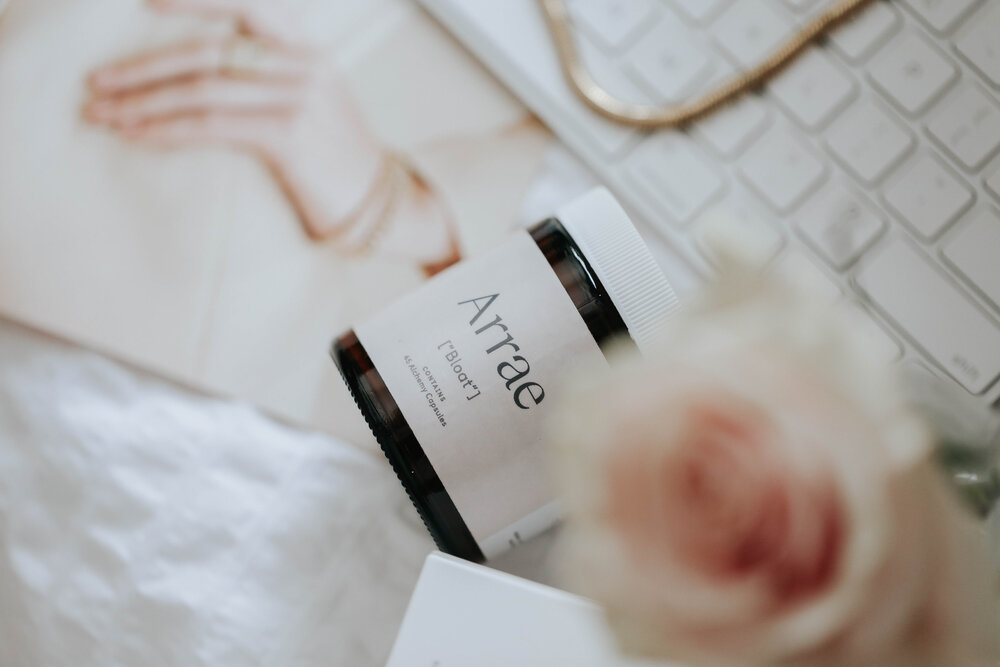
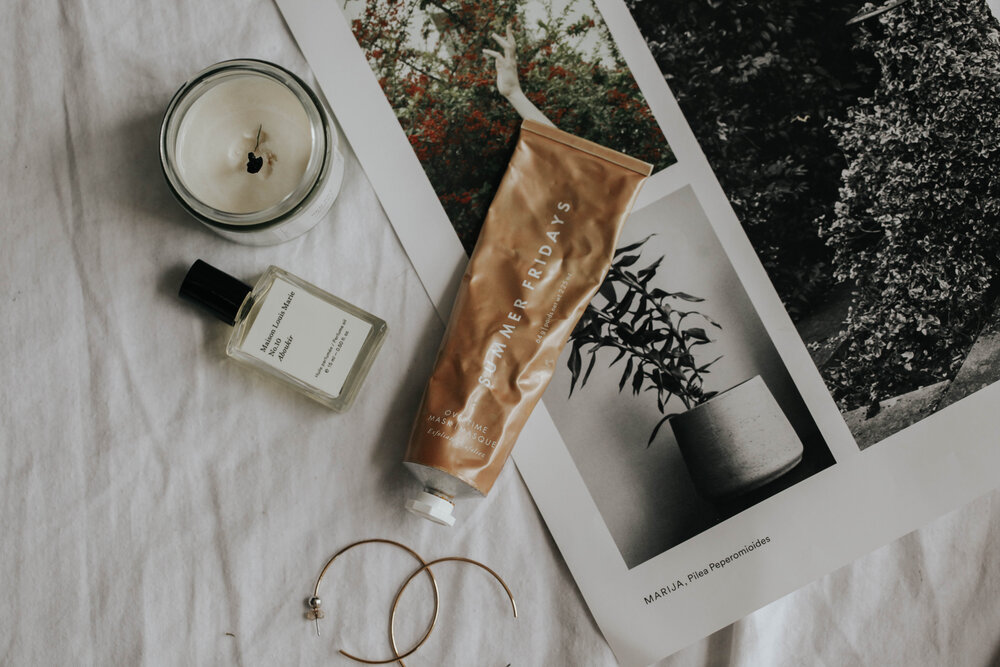
The “FLAT LAY”
Buzzzzzzword, yes. Beautiful image-maker? Also yes. The Flat Lay is a popular shooting style, and with an iPhone, this is usually your best bet for creating something professional-qual, without having to worry about additional camera settings (depth of field, and the like). With this technique, you can carefully choose texture and additional props to bring into the frame to fill negative space, OR keep it ultra simple for a really clean, minimalist look.
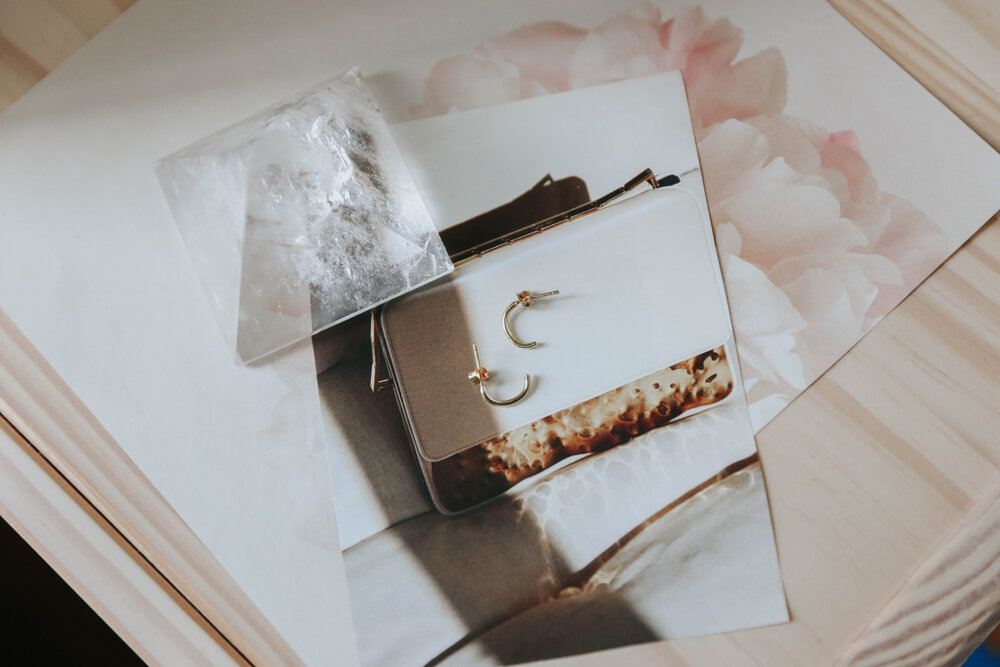
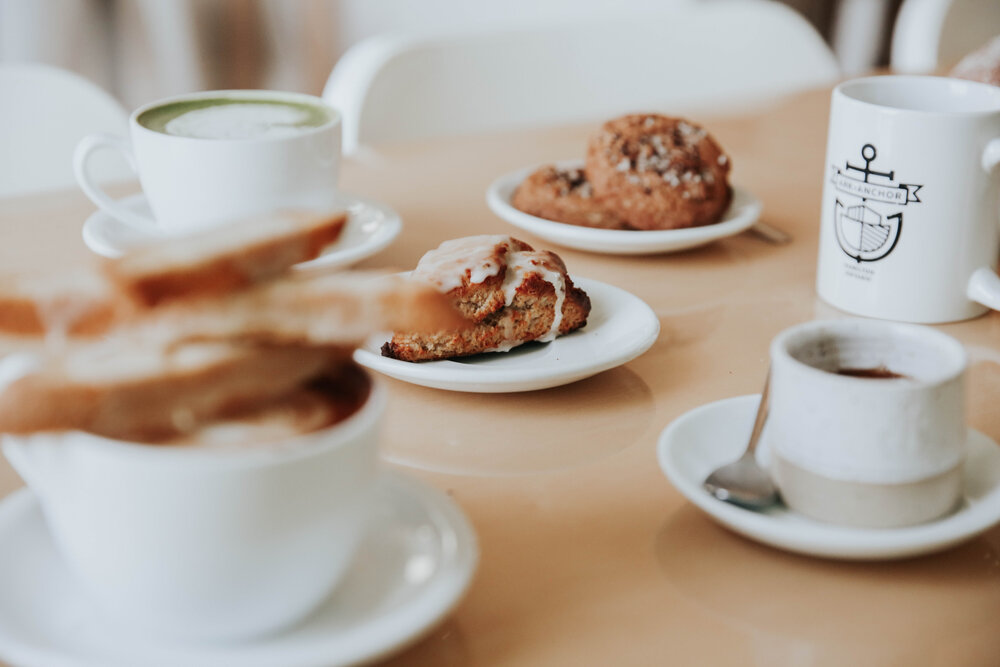
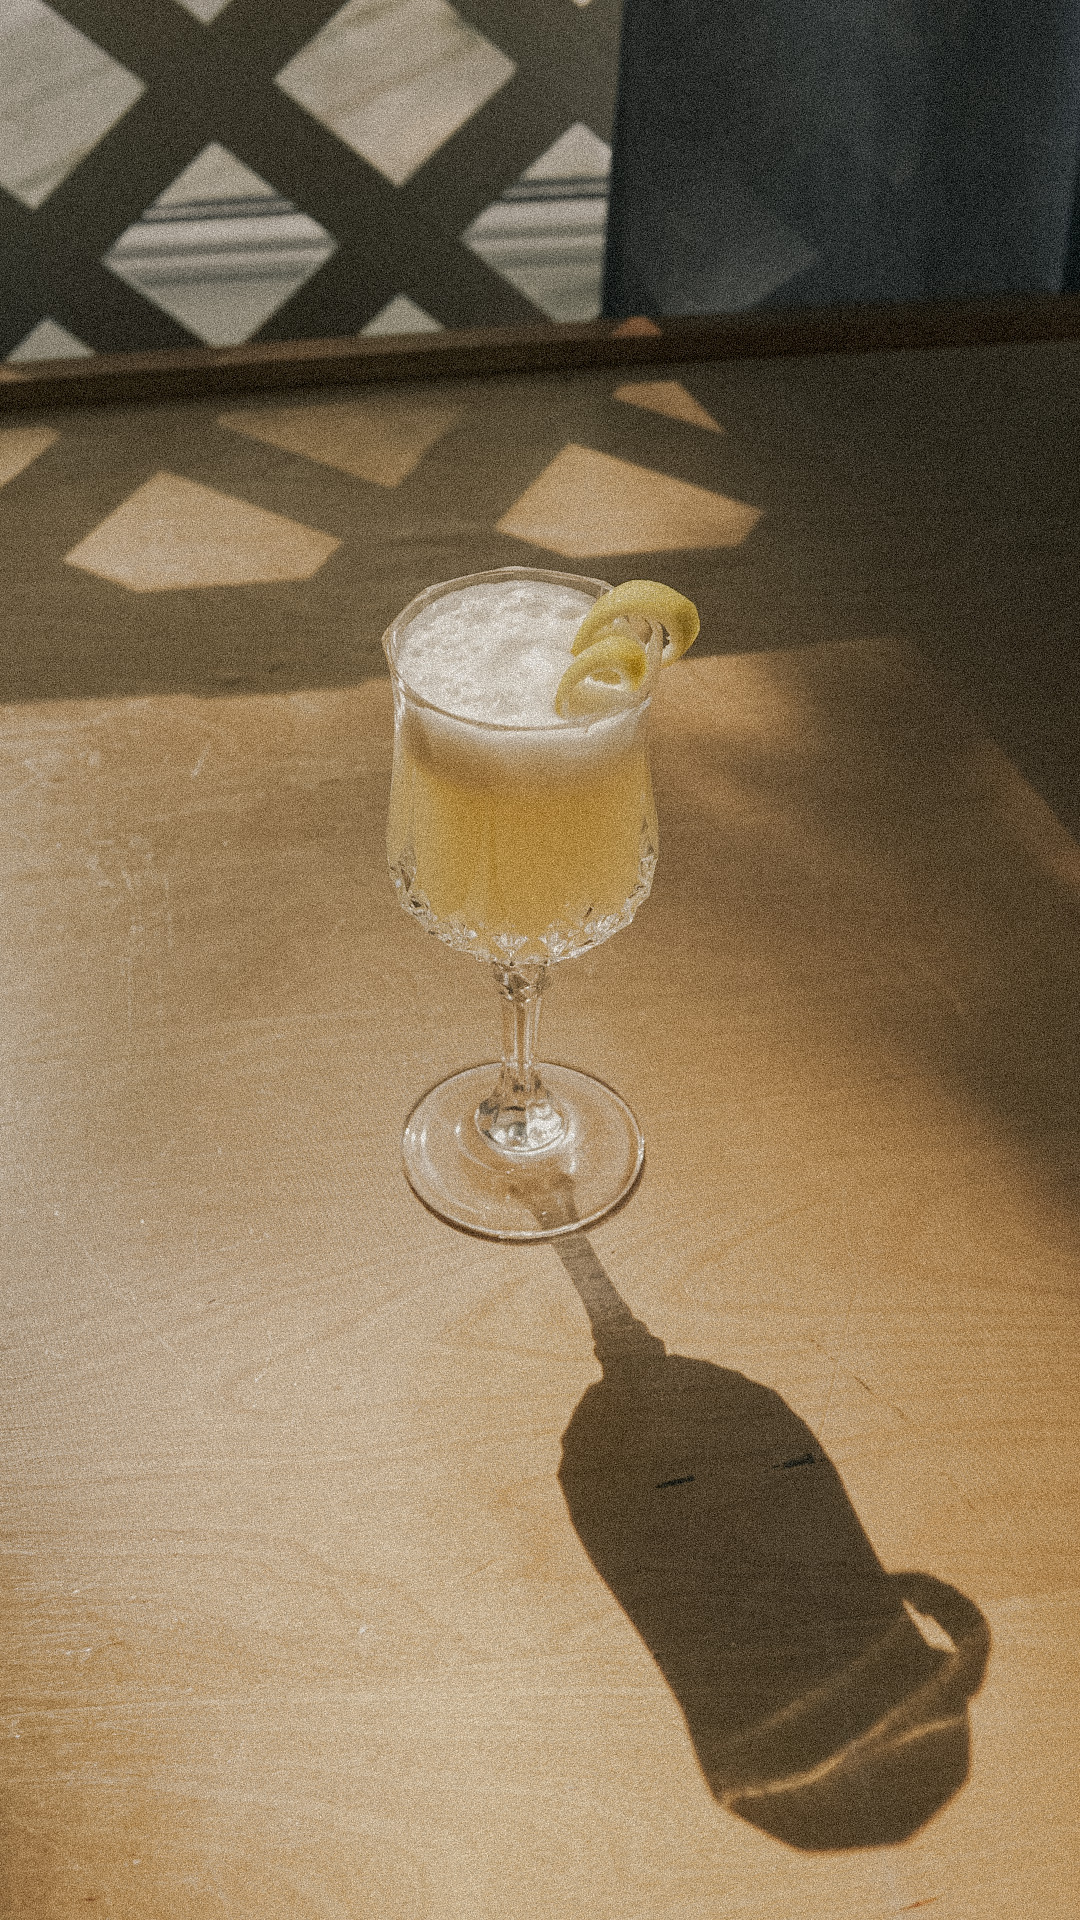
The Through-Something
Maybe there’s a professional word for this style of photography, but it has no place here. This technique works ultra-best if you are using portrait mode or you have a way of adjusting depth-of-field, but most smart phones will do the work for you. Place an object just in front of what you’re hoping to highlight, and then shift the camera’s focus to the subject, keeping the object blurred, but still in frame.
Okay, I took my photos… now how do I make them actually look cute?
Yes – we all know taking photos is half the battle, editing them is a whole other ball game. That’s why we created the Oh Sierra Signature Preset, to make that part easy-as-pie for you, too.
Cheers,
The Appleyards


Read the Comments +